Rambush
Portfolio
Pi-hole, Unbound and Optus
May 2026
Raspberry Pi ad-blocker on an Optus network
There are countless guides for setting up a Raspberry Pi with Pi-hole and unbound, however there aren't as many that outline the issue Optus customers may face in the process.
This was my first Raspberry Pi project, what should have taken less than an hour ended in hours of battling my Optus modem.
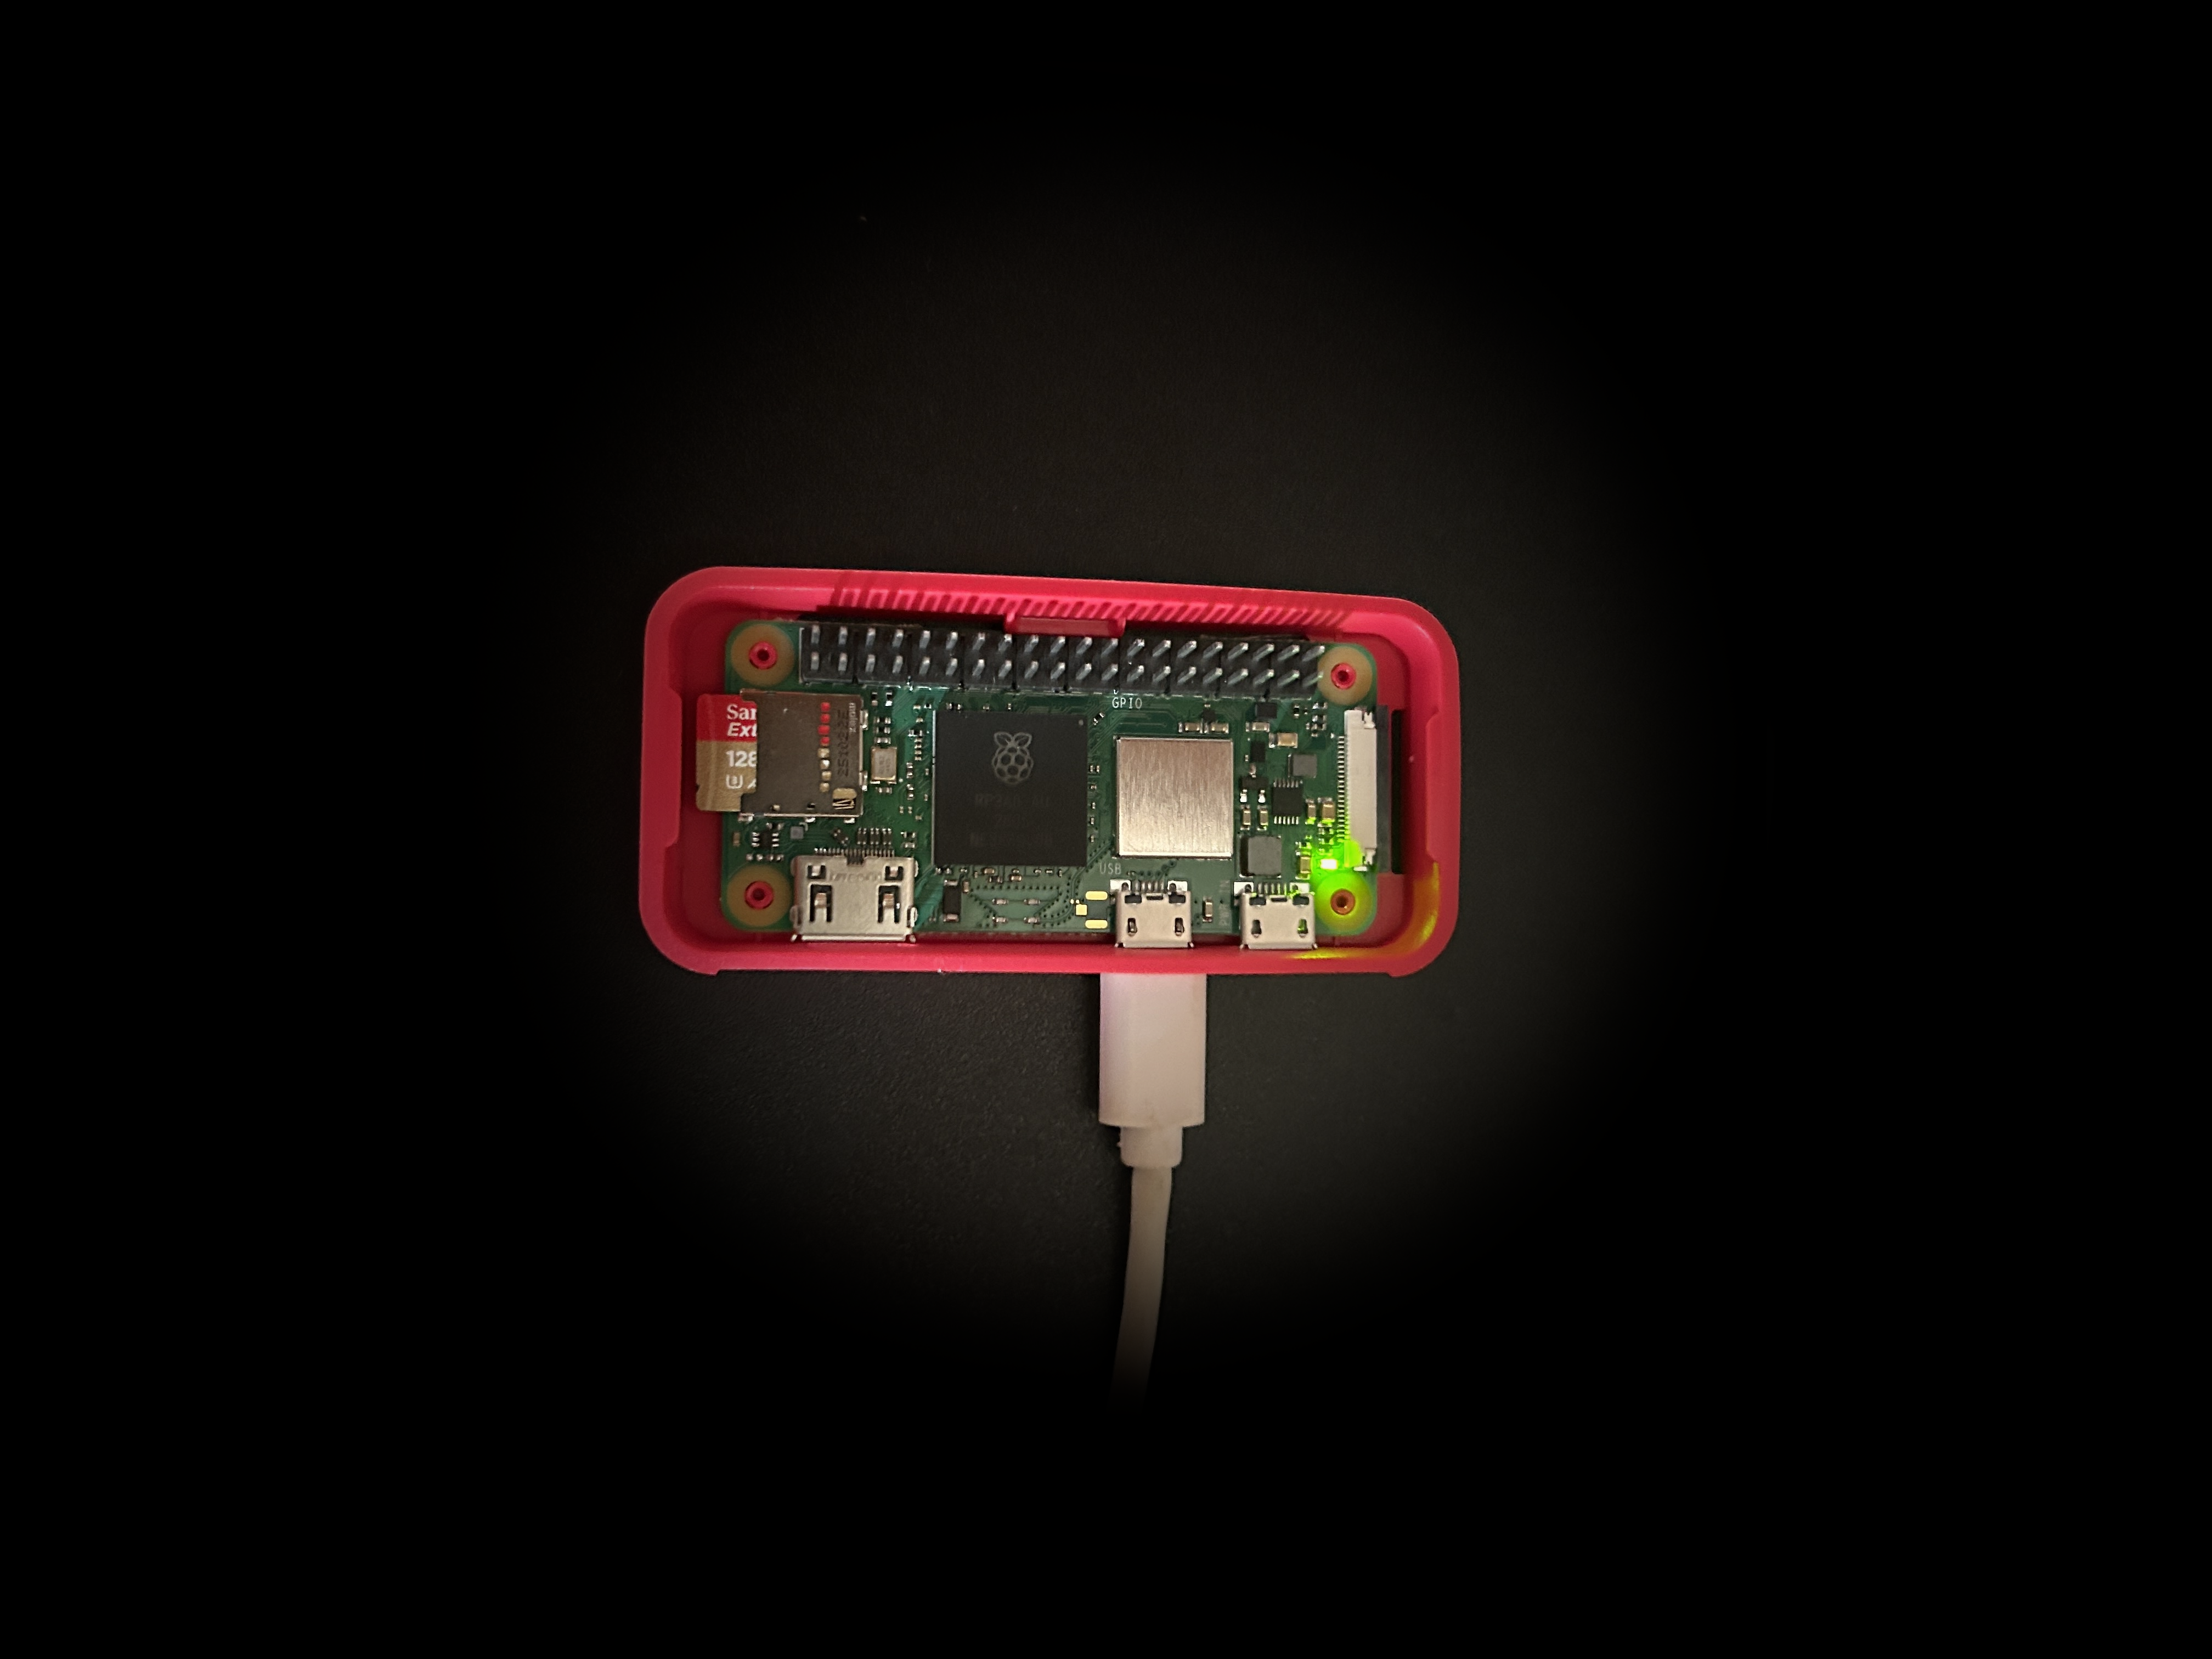
The model used throughout this writeup is a Raspberry Pi Zero 2w
DNS Police
Domain Name System (DNS) is a translator for readable domain names and IP addresses, when you search for a domain the DNS queries that name against a known list of addresses to match them. DNS is usually provided by your ISP or some third party like Google or cloudflare.
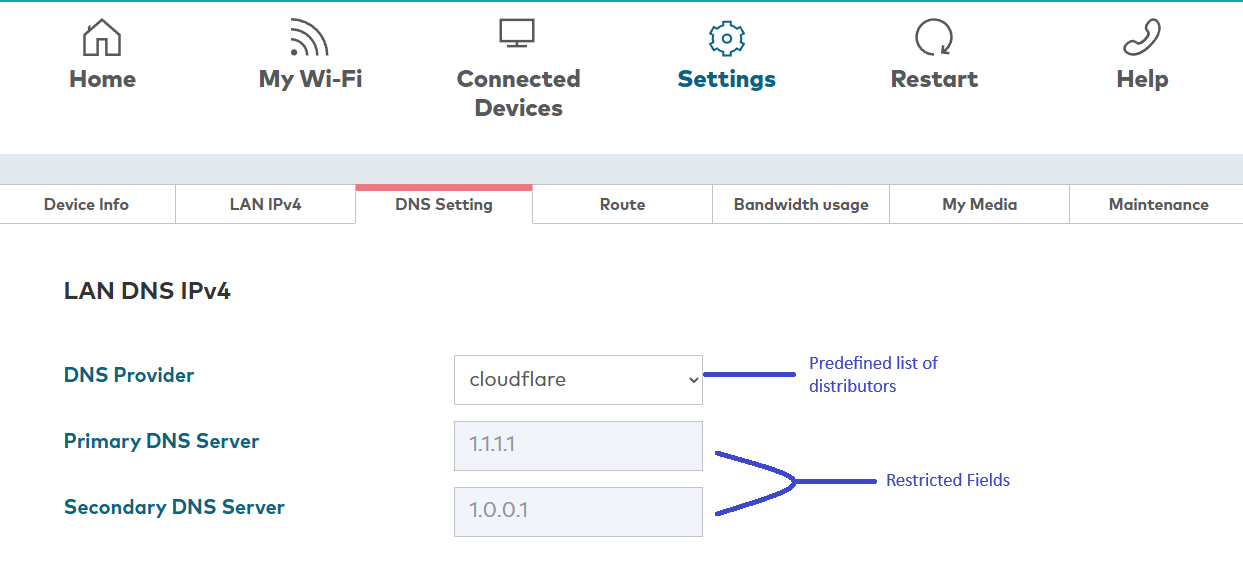
Optus hardware is notoriously bad for customization and modification, after configuring my Raspberry Pi Zero 2w with Pi-hole, all i needed to do was go into my modem dashboard, disable the modems default DNS then set the newly configured Pi's IP as the new DNS provider so that Pi-hole could work its ad blocking magic.
This turned out to be impossible, most Optus modems actively prevent you from configuring a custom DNS address by making the address input sections of the DNS settings unusable. the Pi needs to be used as the network DNS for pi-hole to actually work, this was an issue.
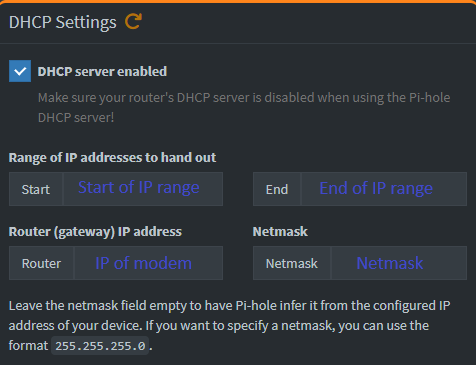
After some digging i found 2 different users that have solved similar issues by using Pi-hole as the network DHCP server and circumventing DHCP input from the modem entirely.
DHCP
Dynamic Host Configuration Protocol (DHCP) automatically assigns IP addresses and other network config settings to devices that connect to a network, this is usually handled by your modem or router.
For the Pi to work as the designated DNS it needed a static IP address so that each device has an unchanging reference to it, this is an important step as most network devices that handle DHCP allocate a "DHCP lease" which is a window of time in which a device has a certain IP, when that lease runs out a new IP is assigned dynamically,. Usually the easiest way to asign a static IP address is through the modem/router dashboard so there is no conflicts.
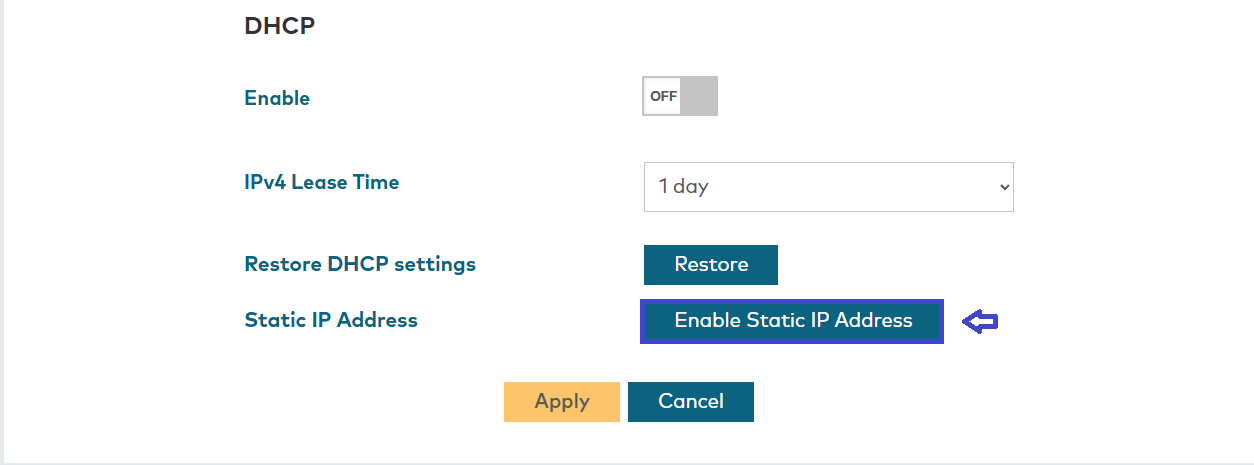
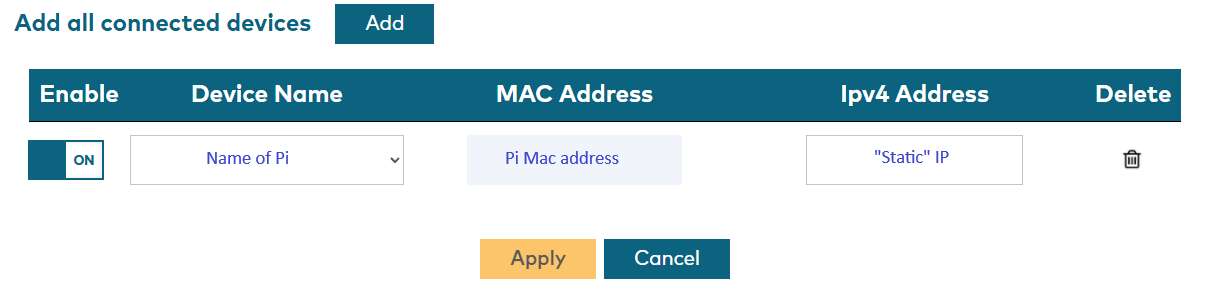
Optus has an "Add static IP" option in the dashboard, which would be great, if it actually gave you a static IP and not a DHCP allocation. The "static IP address" that the modem provides is actually just a DHCP allocation that dishes out the same IP every cycle, whilst it does provide an unchanging IP address to a device it still requires DHCP to be active on the modem for the address to work.
I discovered this after i configured the DHCP server on the Pi and finally turned off DHCP on the modem so that Pi-hole could take over, only for all my devices to disconnect from my network (including the Pi on it's "static" address).
At this point, with no active DHCP i could not get back into my modem dashboard as my PC lost it's allocated IP on the network and couldn't connect to anything.
Getting back into the modem
Since the DHCP dynamically allocates ip addresses on the local network to connected devices, any attempts at reconnecting to the network were met with "connected with no internet" as my PC was no longer being dished a new IP address from anywhere. From here i needed to allocate my computer a static IP address on the network.
Allocating a static IP on a Windows computer
- Settings > Network & Internet > Wi-Fi
- click "(Current network name) properties"
- find "IP assignment", press edit
- Toggle from "Automatic (DHCP)" to "Manual"
- Select your protocol (IPv4/IPv6, or both)
- Set your static IP in the "IP address" input, "Subnet mask" and make sure to set your "Gateway" as the local address of your modem/router that you are trying to connect with.
Once i had a new static ip allocation on my home network i was able to access my modem again and re-enable DHCP to get my Pi back online, which was neccessary as i could not SSH back into the Pi until the modem dished it an address for the network.
An actual static IP
With everything back online but still tied to the modem DHCP, i needed to get a static IP manually configured on the Pi, so that it wasnt reliant on the modem DHCP anymore.
After SSHing back into the Pi i ran these commands to configure NetworkManager with a static IP
- sudo nmcli con mod "netplan-wlan0-NETWORKNAME" ipv4.addresses Desired static IP
- sudo nmcli con mod "netplan-wlan0-NETWORKNAME" ipv4.gateway Address of modem/router
- sudo nmcli con mod "netplan-wlan0-NETWORKNAME" ipv4.dns "1.1.1.1 8.8.8.8"
- sudo nmcli con mod "netplan-wlan0-NETWORKNAME" ipv4.method manual
- sudo reboot
after running "ip a" to confirm the new address was static and not dynamic, i was able to re-enable the Pi-hole DHCP server and kill the modem DHCP. Pi-hole was now fully functional as the DHCP and the adblock capabilities were working.
Unbound
By default Pi-hole forwards DNS queries to a third party "upstream DNS" of your choosing like Cloudflare (1.1.1.1) or Google (8.8.8.8), while your ISP can no longer see what queries you are making, the upstream DNS provider can.
Unbound is a recursive DNS resolver, instead of asking Cloudflare (the upstream i chose for Pi-hole) for DNS resolutions, it works through the DNS hierarchy itself to find the authoritative server, so that no single third-party has a full list of your browsing data
The setup for unbound was completely unhindered by Optus as the network is now largely controlled by the Pi, there is plenty of writeups on configuring unbound so i won't bother with that here.
Back to portfolio