|
Project Context
Ruger's Adventure is my first Godot project.
I made this simplistic pixel-art style puzzle platformer as a gift for my girlfriend
and to familiarise myself with Godot.
Basic setup and functionality/systems

Global Autoload Script (Objective tracking)
in Godot, levels are called "scenes" and when a player moves between scenes in godot they reset to the original state that they are saved in, this is problematic,
for example a player might slay a monster in an area, leave then come back, and the monster is alive again... as if the player never killed it. Now there are no monsters to "kill" in this game
but puzzle elements or objective based objects need to be stored between scenes so that the player does not need to repeat the whole area every time they return.
To preserve information between scenes i created a globally accessible Autoload scrip. This is a script file that can be accessed by ANY other script within the project. since global scripts aren't linked to any one particular scene they retain information between
them during play time.
Since the game is incredibly simplistic, my implementation of this objective tracking system was also incredibly simple, a large list of boolean values nothing whether or not a particular task has been completed and a few small
functions that relate to some specific objectives. Below is a small snippet of this Autoload script.
extends Node

var loaded_in = false

var checked_food = false

var play_count = 0
var juggle_streak: int = 0
var played = false

var have_eaten = false

var mushrooms_harvestable = false
var required_shrooms = ["Red_Mushroom", "Blue_Mushroom", "Brown_Mushroom", "Green_Mushroom"]
var given_water = false
var mushrooms_harvested = false

var snail_blessing = false

var simon_said = false

var cave_switch_flicked = true
var ride_over = false

var crowley_sign_read = false

var tree_fallen = false

var ff_num_collected = 0

var lantern_lit = false

var lantern_placed = false

var crowley_flown_away = false

var Dolan_onboard = true

var forest_ghost_met = false

var ghosts_found = 0

var can_banish = false

var forest_ghost_banished = false

var caved_in = false
func checked_dinner():
	checked_food = true

#Objective based code
func playedtoys(juggle_streak: int) -> bool:
	if juggle_streak >= 4:
		played = true
		return played
	else:
		return played
Inventory System
As this is a game that requires collection of items and sometimes even moving items between scenes, i needed to make a simple inventory system
This was even simpler than the Autoload in terms of design, this script is also a globally accesible one meaning any other script can
interact with it.
This script is essentially an empty array, that other scripts pass strings associated with items into.
extends Node
signal inventory_update

var collected_items = []
# Called when the node enters the scene tree for the first time.
func _ready() -> void:
	pass # Replace with function body.


# Called every frame. 'delta' is the elapsed time since the previous frame.
func _process(delta: float) -> void:
	pass

func collect_item(item_name: String) -> void:
	if item_name not in collected_items:
		collected_items.append(item_name)
		#This signal is for telling Autoload the inventory has a new item and to scan inventory for objective completion,
		#remember this can only be connected via code not the inspector.
		emit_signal("inventory_update")
		print(item_name)

func is_item_collected(item_name: String) -> bool:
	return item_name in collected_items
Interaction System
Another key component of the game is interacting with the items in the world, this system is definitely the most complex one.
The core of this system is the Interaction Component attached to the head of the player. This component has the following features
- An InteractRange: an Area2D and associated CollisionShape2D that define the range at which interactions can occur
- An InteractLabel: a RichTextLabel node that allows for interaction prompts to be shown to the player
The script attached to the Interaction Component uses the Area2D to check for intersecting interaction areas and sorts them by distance, just incase there is
ever 2 interactable objects in close proximity to each other. If an interaction is available the RichTextLabel will show the "interact_name" value of the interactable object above the player's head along with a prompt for what key to press (usually [E])
The RichTextLabel also has a positive and negative offset (accounting for sprite flip_h direction) value that can be adjusted so that the label fits perfectly above the player's head in each scene regardless of camera position or zoom. as well as adjustable boundary offsets so that the interaction
prompt isn't cut off by the area barriers when using area changers.
The footage above demonstrates that the interaction label never gets cut off by the area boundary and instead gets offset by the given value so that it stays nicely visible to the player.
Each interactable item has an "interactable.tscn" attached to it, this interactable scene is simply an Area2D node with a script attached, a collision shape must be
added to this component when being attached to an interactable object as Area2D nodes cannot operate without a CollisionShape2D node to give them a physical presence.
The script attached to this interactable.tscn
Game Levels
Explore each level by clicking the nodes below:
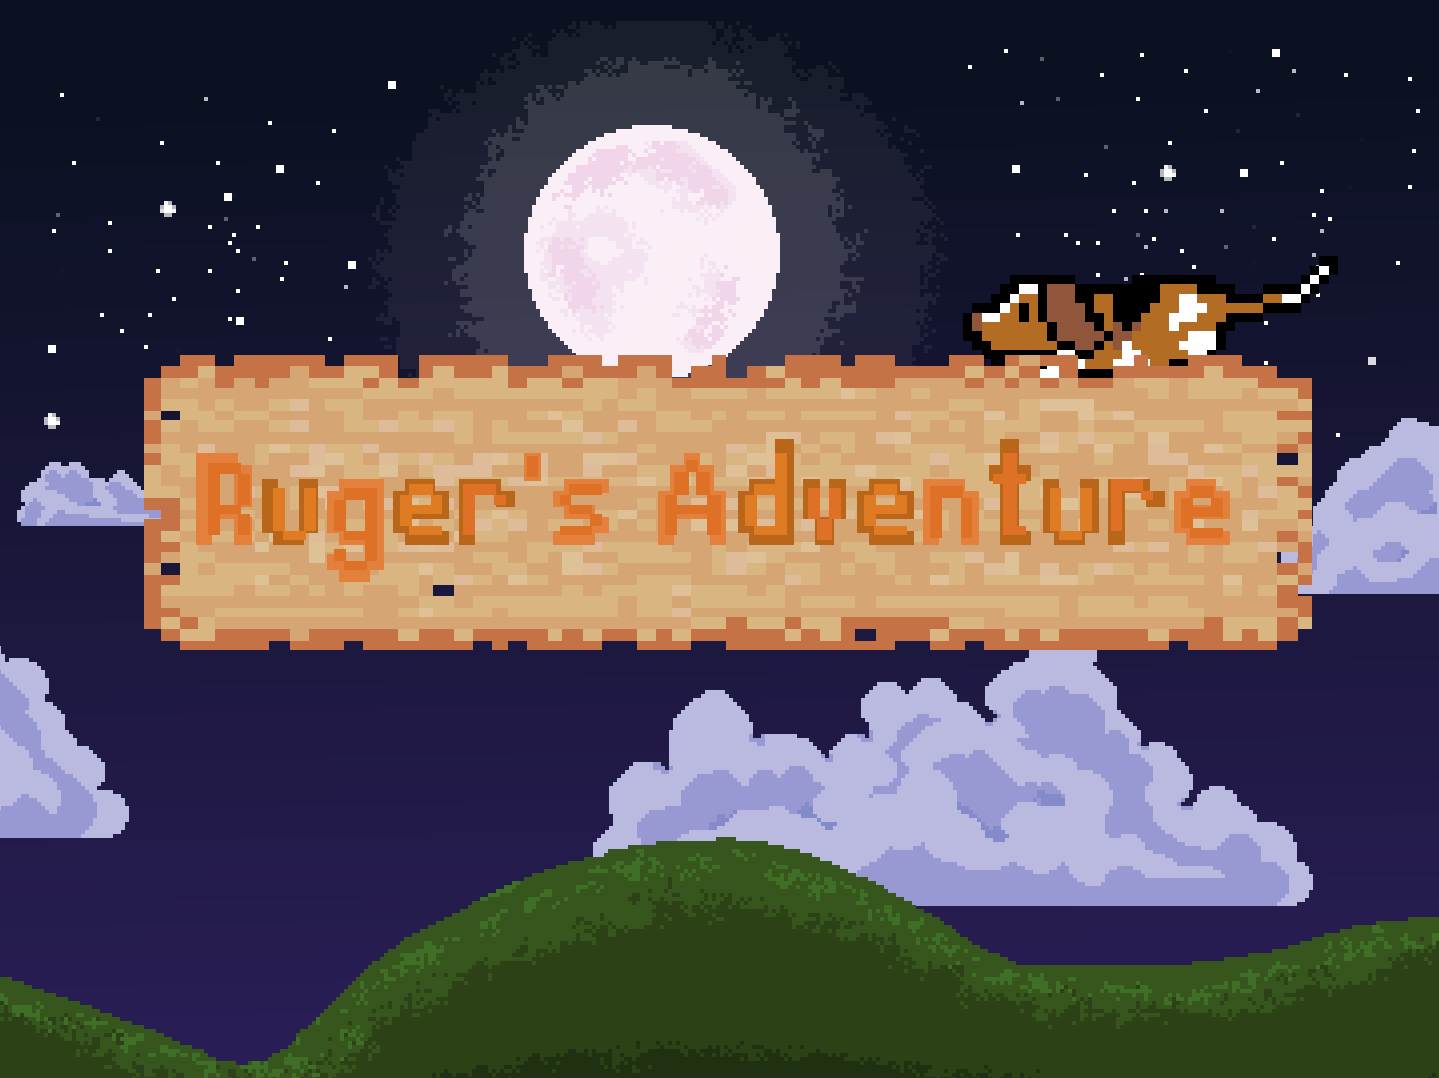
Level 1: Title
This simple title screen actually wasn't created until fairly late in the project after i had become somewhat familiar with Godot tools
To create this intro-screen i started by drafting the text in aseprite using the font LanaPixel , which i used throughout the whole project for things like
interaction prompts and the dialogue UI.
The actual setup of the Titlecard in Godot is fairly simple, it is a scene consisting of
- A Night sky backdrop repurposed from the first level of the game
- The Title card itself, made in Aseprite
- A piece of text devoting the game to my girlfriend
- A ColorRect component for fading in and out
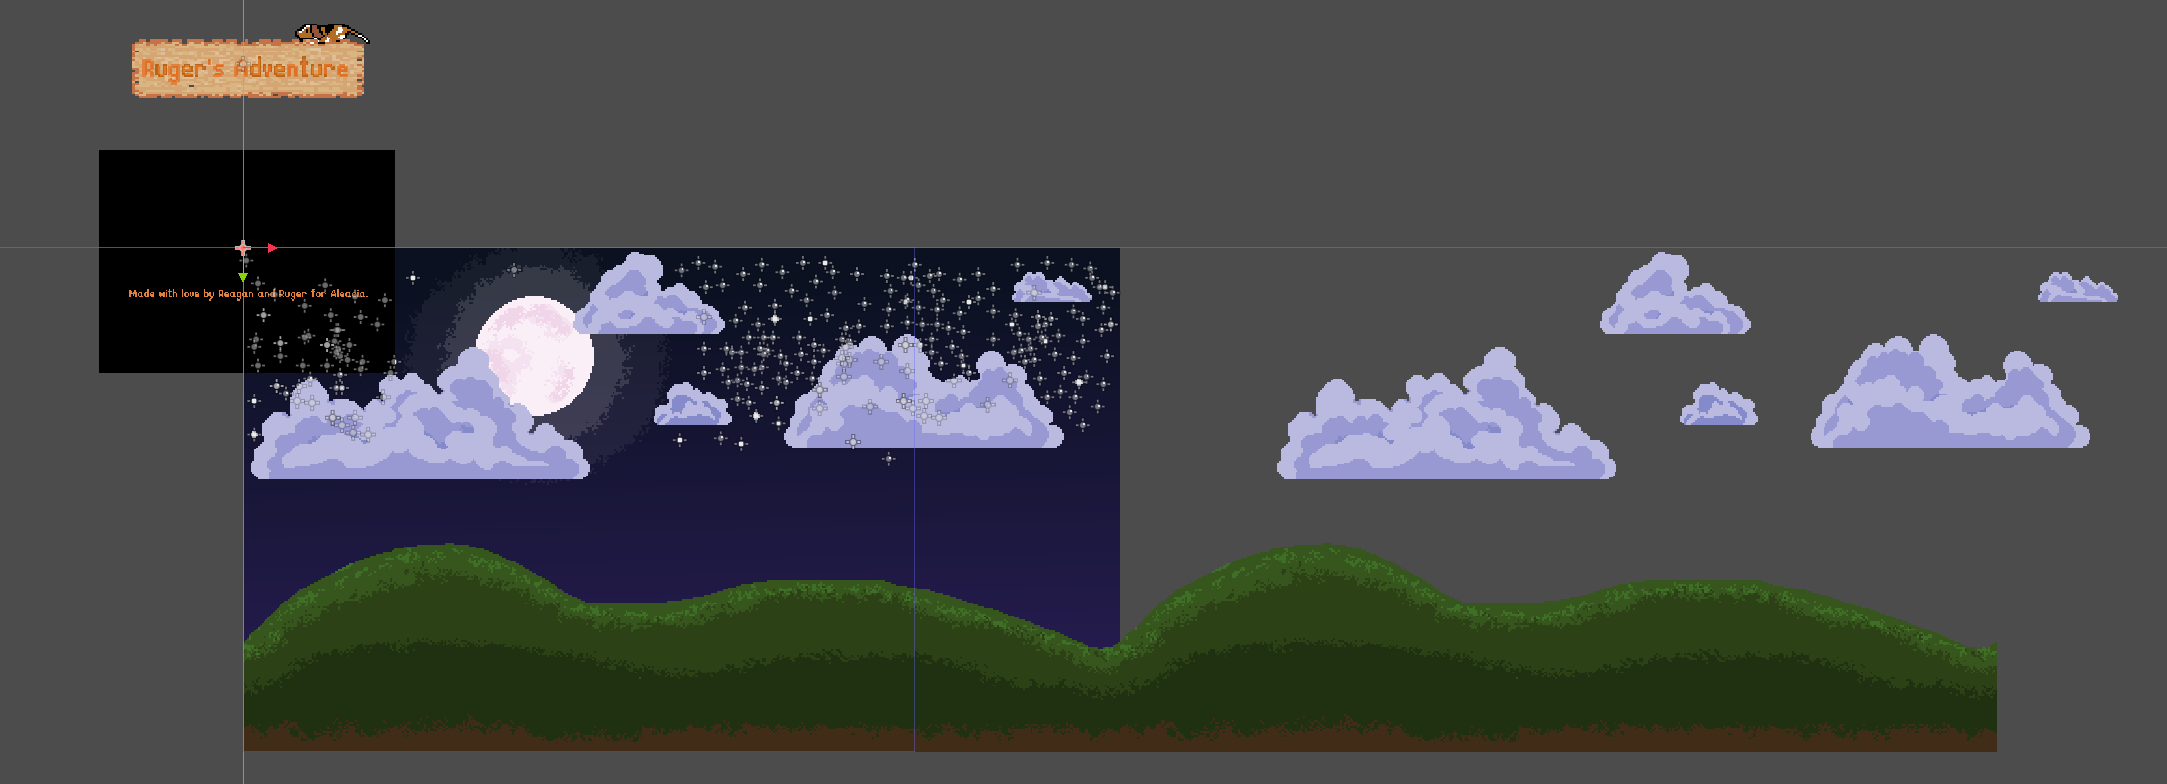
Code
Most of the heavy lifting for this scene is done by the ColorRect component, which is simply a black square placed over the camera to obscure the rest of the scene.
By modulating the ColorRect alpha value i have created a fade-in and fade-out effect.
the first function executed by the Titlecard is one that tweens the visibility of the message sprite, again by modulating the alpha value
func fade_in_sprite(duration: float = 5.0) -> void:
	sprite_2d.visible = true
	sprite_2d.modulate.a =0.0

	#used a tween for gradual fade
	#Used target node, object with animated property
	#property with which to animate (alpha level in this case)
	#end value and duration (end value is 1)
	var tween = create_tween()
	tween.tween_property(sprite_2d, "modulate:a", 1.0, duration)
	await get_tree().create_timer(5.0).timeout
	var tween_out = create_tween()
	tween_out.tween_property(sprite_2d, "modulate:a", 0, duration)
	await get_tree().create_timer(5.0).timeout
	fade_in_black()
This block terminates with a call to the next function which fades the ColorRect out and plays the animation of the titlecard panning down the screen
This function ends with a linked scene change taking the player to the first level of the game. "Home"
func fade_in_black(duration: float = 5.0) -> void:
	color_rect.visible = true
	color_rect.modulate.a = 1.0

	#used a tween for gradual fade
	#Used target node, object with animated property
	#property with which to animate (alpha level in this case)
	#end value and duration (end value is 1)
	var tween = create_tween()
	tween.tween_property(color_rect, "modulate:a", 0.0, duration)
	await get_tree().create_timer(5.0).timeout
	animation_player.play("pan_in")
	await animation_player.animation_finished
	await get_tree().create_timer(8.0).timeout
	var tween_in = create_tween()
	tween_in.tween_property(color_rect, "modulate:a", 1.0, duration)
	await get_tree().create_timer(5.0).timeout
	get_tree().change_scene_to_file("res://Scenes/Main_Scene.tscn")